Fabella Creator has many features for creating interactive audio experiences, but just knowing the basics alone can help you develop interesting experiences. This tutorial will cover the uses of basic nodes, which are essential components in any Fabella project.
If you’re unsure about what a node is or how they can be used to tell your story, take a look at this tutorial.
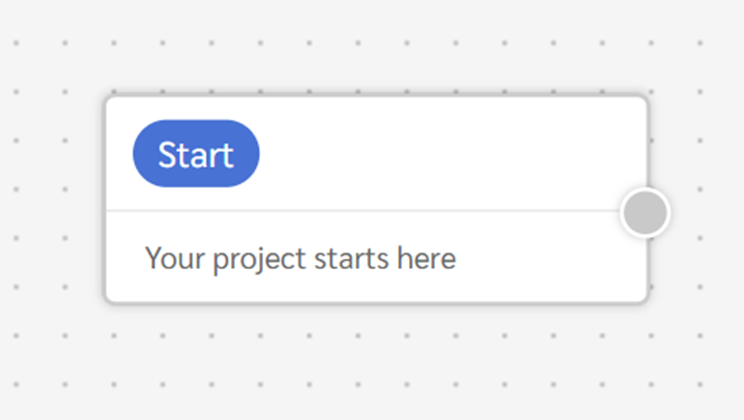
The Start Node
Every project begins with a Start Node, which marks the beginning of your project. This node is created automatically and cannot be removed or duplicated.
The Say Node
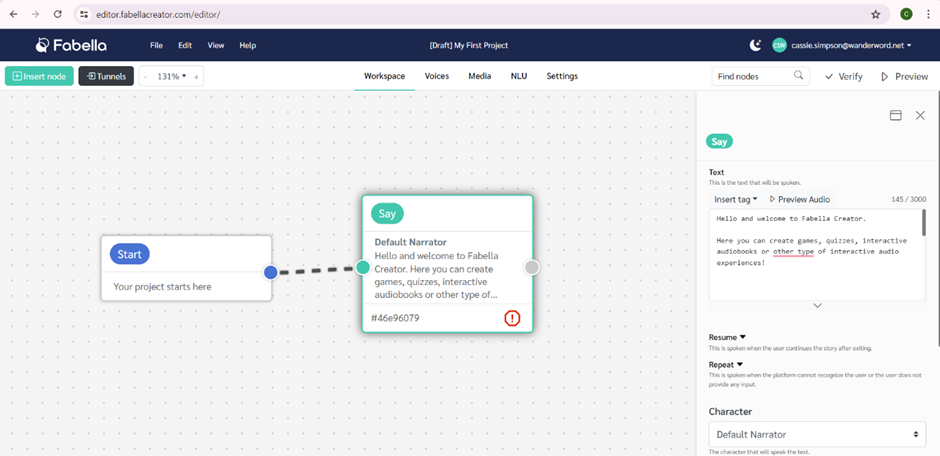
The Say Node is used to convert text into audio using AI voices. It can be as simple or complex as you need it to be, but we will look at its basic functions for this tutorial.
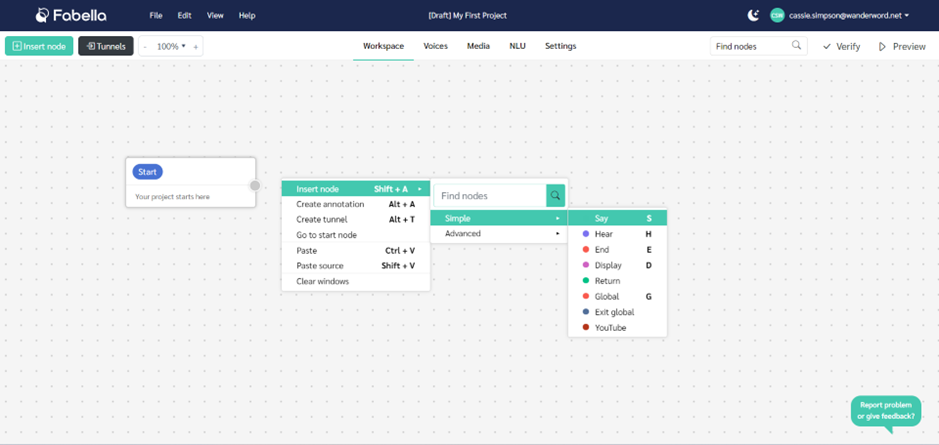
1. Adding a Say Node:
Insert a Say Node in your project. Right-click > Insert Node > Simple Node > Say Node.
Enter the text you want, such as “Hello and welcome to Fabella Creator”. What you write here will be read aloud by Fabella Creator’s AI voices.
2. Additional Options:
You’ll find some options at the bottom of the Say Node’s menu.
– Resume: This text is spoken when the user continues the story after exiting.
– Repeat: This text is spoken when the platform cannot recognize the user input, or the user does not provide any input.
– Character: Select the character who will speak the text. Characters can be created and managed within Fabella, and you can choose different voices and accents from the many options provided there.
3. Previewing Audio:
You can preview how the text will sound using the built-in tools.
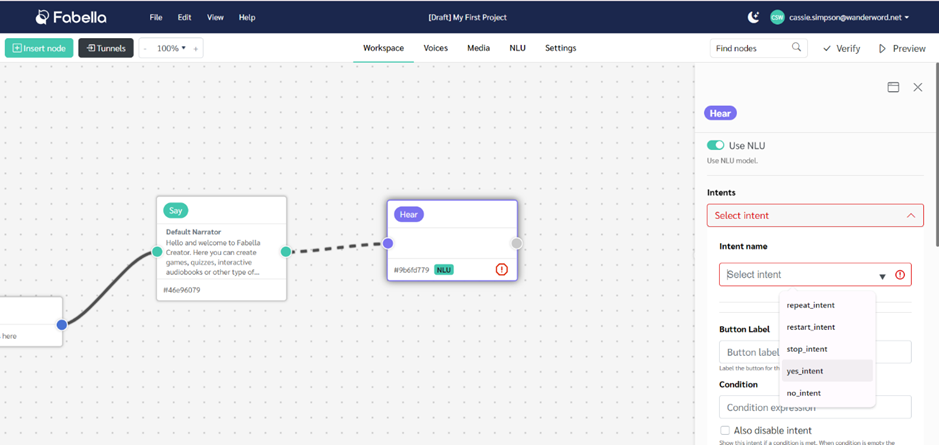
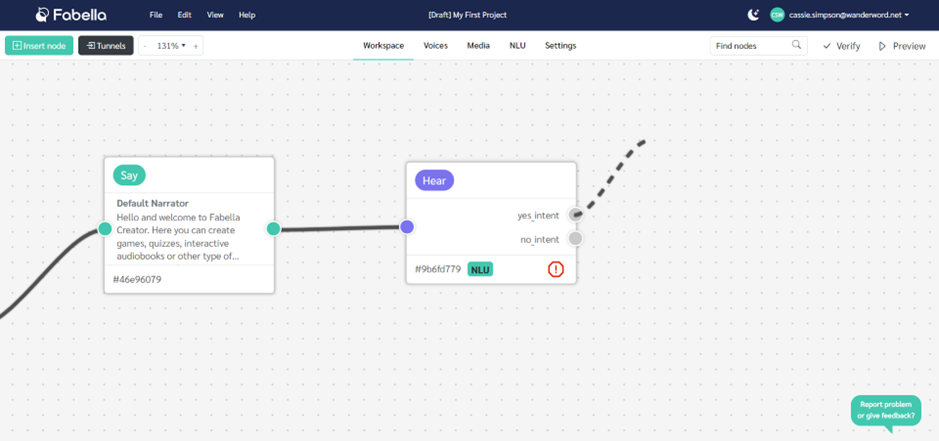
Implementing the Hear Node
The Hear Node listens for user input – where the user can talk, tap, or type a response. You can create branching options depending on your user’s response.
1. Adding a Hear Node:
– Insert a Hear Node into your project.
– Add intents (e.g., “yes” and “no”) to define what the system should listen for.
2. Connecting Nodes:
Link different responses to corresponding Say Nodes to create a flow based on what the user responds.
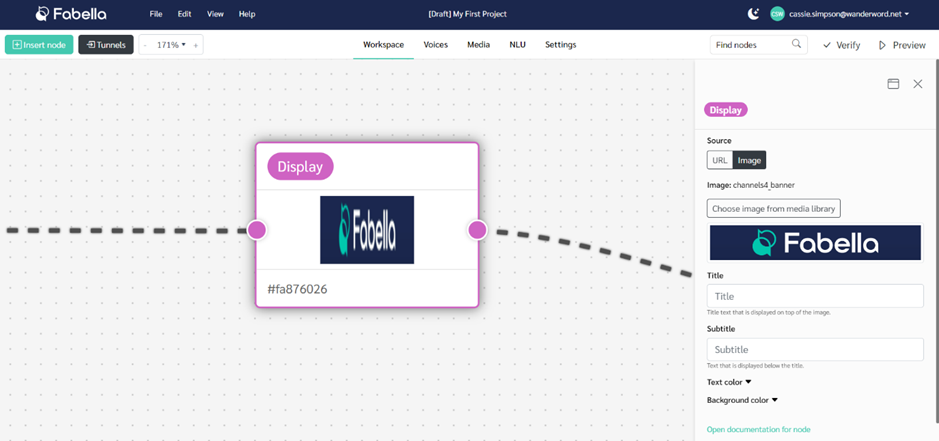
The Display Node
The Display Node is used to show images and text on devices.
1. Adding a Display Node:
– Insert a Display Node into your project.
– Enter a URL for the image or choose an image from your media library. You can read more about how to upload media to your library [here]
– Add title and subtitle text if needed.
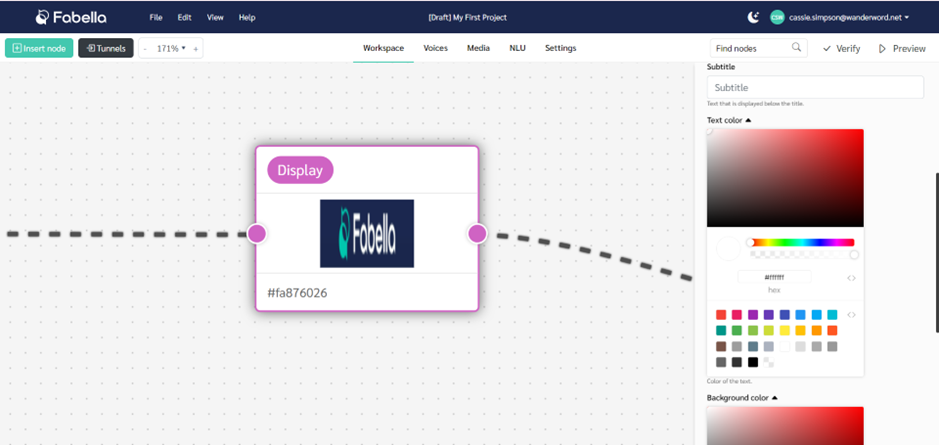
2. Customizing Appearance:
Change text and background colors to fit your design.
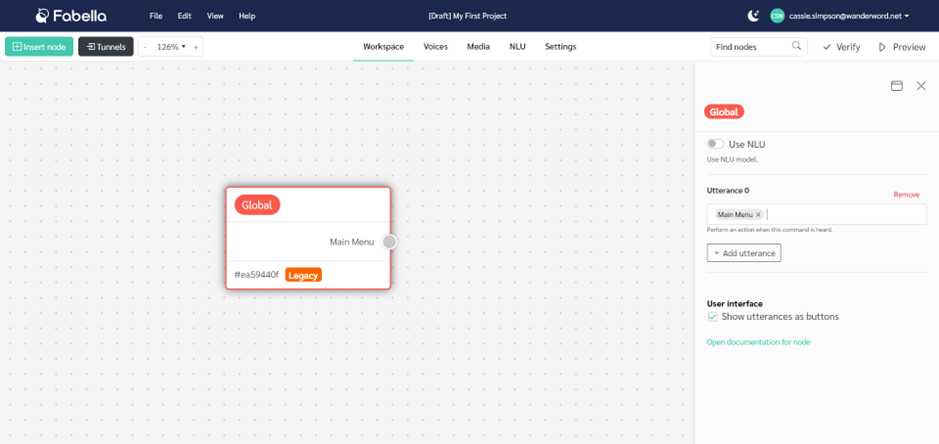
Global Nodes
Global Nodes listen for specific words throughout the project, and will take actions depending on those Global words (e.g. Restart, Stop).

1. Default Utterances:
– Stop, Restart, and Repeat are default utterances that cannot be removed. The player can use these words throughout the experience to stop or restart the project, or to hear what was just said again.
– Custom utterances can be added and prioritized over default ones (e.g. Main Menu).
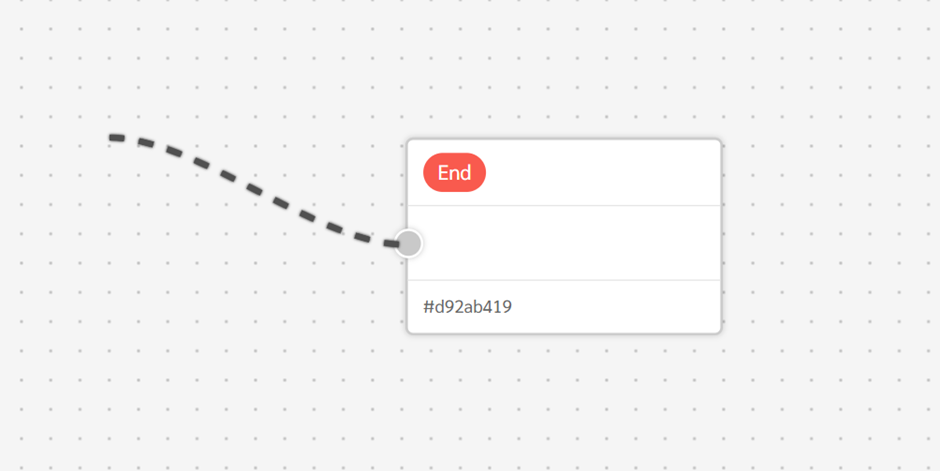
The End Node
The End Node marks the end of your project and is needed for your project to run.
1. Adding End Nodes:
– Insert End Nodes to indicate the completion of different branches in your project.
– Multiple End Nodes can be used for various branching paths.
Support and Further Assistance
For any additional questions or assistance, reach out to Fabella Creator’s customer support team at support@fabellacreator.com. They’re readily available to address any queries and provide any guidance you may need.