For complex projects in Fabella Creator, there is a useful feature called Grouping. In complex projects, nodes can build up and it can be easy to feel lost. The Grouping tool helps to streamline your workflow and maintain an organized workspace.
This tutorial will guide you through the steps to group nodes in your project, making it cleaner, more organized, and easier to manage.
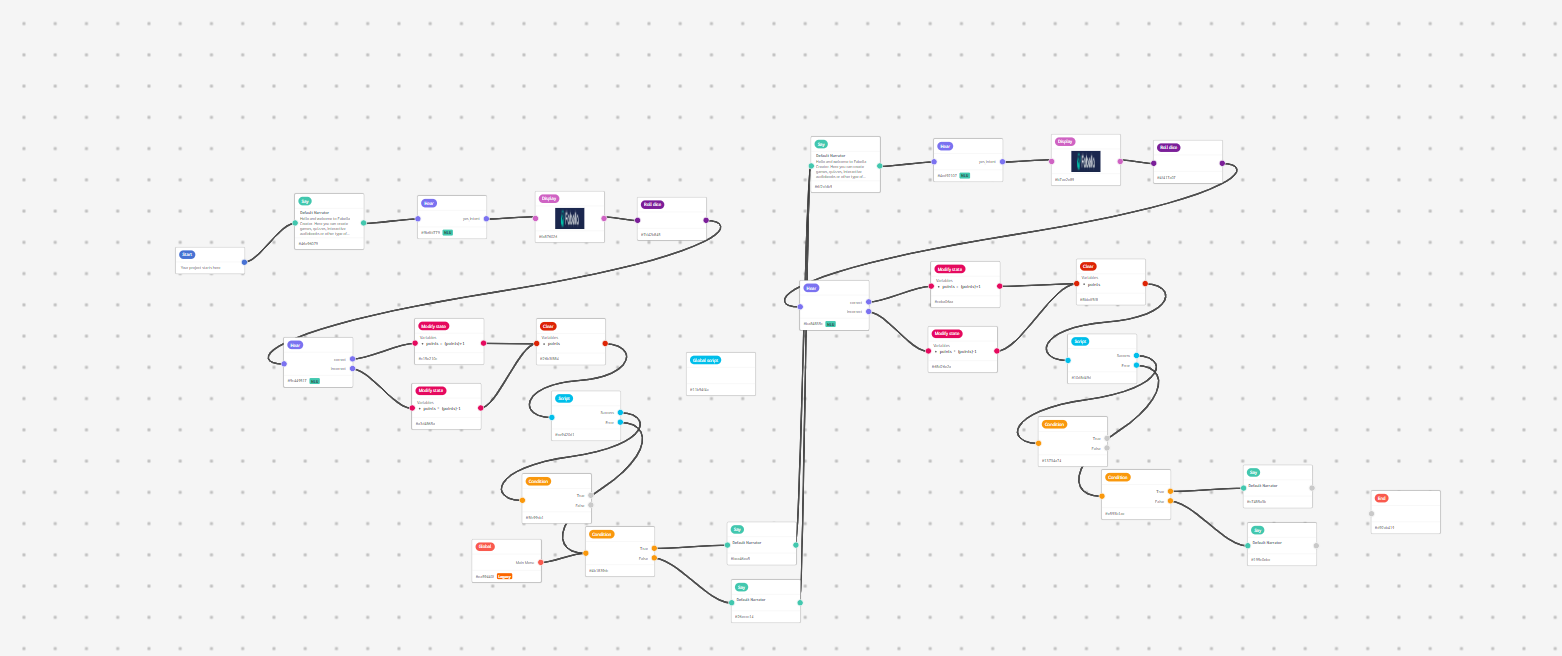
A Complex Project Workspace
Let’s say you’ve been working on a project for some time, and your workspace is cluttered with numerous nodes and connections. This can make it difficult to navigate, troubleshoot, or make changes.
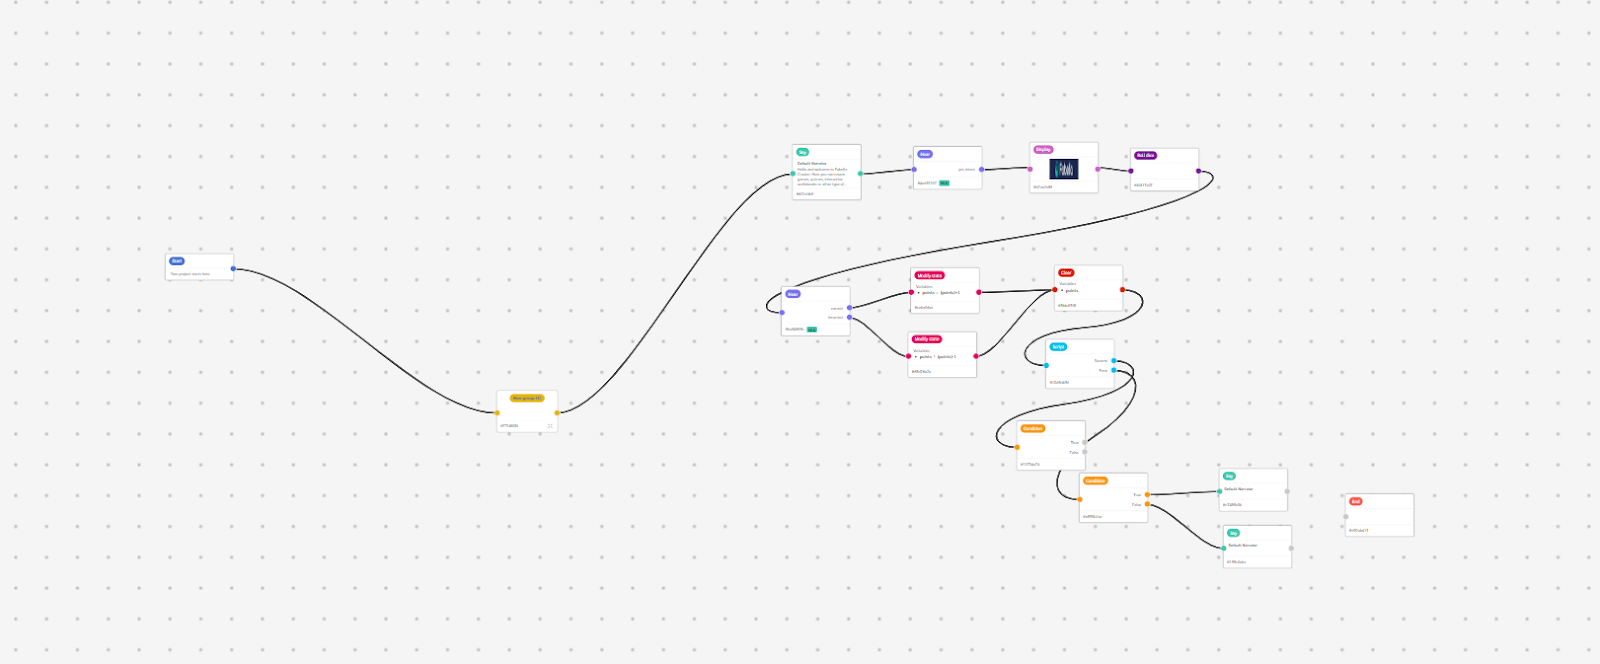
The Solution: Grouping Nodes
Grouping nodes is a simple but efficient way to organize your workspace in Fabella Creator. By grouping related nodes together, you can reduce clutter, enhance your project’s organization, and make it easier to manage changes.
Here’s how you can group nodes in your project:
1. Select the Nodes:
– Hold down the Shift key on your keyboard.
– While holding Shift, click on the nodes you want to group. This will highlight the selected nodes.
2. Create a Group:
– Right-click on one of the selected nodes.
– From the context menu, select Add to Group.

3. Manage the Group:
– The selected nodes will now be grouped into a single, organized cluster.
– You can open the group to view and edit its contents as needed.
– Once your edits are complete, you can close the group, keeping your workspace tidy.
Try grouping nodes in your next Fabella project and experience the difference it can make in your workflow.
Support and Further Assistance
For further details and advanced tips, refer to the Fabella Creator documentation.
For any additional questions or assistance, reach out to Fabella Creator’s customer support team at support@fabellacreator.com. We are readily available to address any queries and provide any guidance you may need.